Make a Harakeke (NZ Flax) Star
These 8 pointed stars are beautiful, and special to make at Matariki or Christmas, decorating the table for a hakari (feast), displayed as a garland, or as natural Christmas tree ornaments.
They can be made from Harakeke (NZ Flax) or other material such as paper strips.
They do involve a little learning curve initially, but can be learned with help and a little practice.
What you’ll need:
- Strips of harakeke (NZ Flax). Alternatively, you can use strips of paper, (this can work well using two different colours).
- Scissors
- A blunt knife
- A thick needle
- Some thin twine or harakeke to thread onto the star to hang (if desired).
Weaving tips:
- Making an 8 pointed whetu (star) is good project for older children from about 9 years old and beyond.
- Paper can be used in place of Harakeke (NZ Flax). Using two colours can also make this easier for children to learn.
- Note that softening the Harakeke leaf can sometimes be tricky for children to run along the blunt knife, so an alternative is to soften the leaf along a sharp, square edge of a table or desk, or prepare for them in advance.
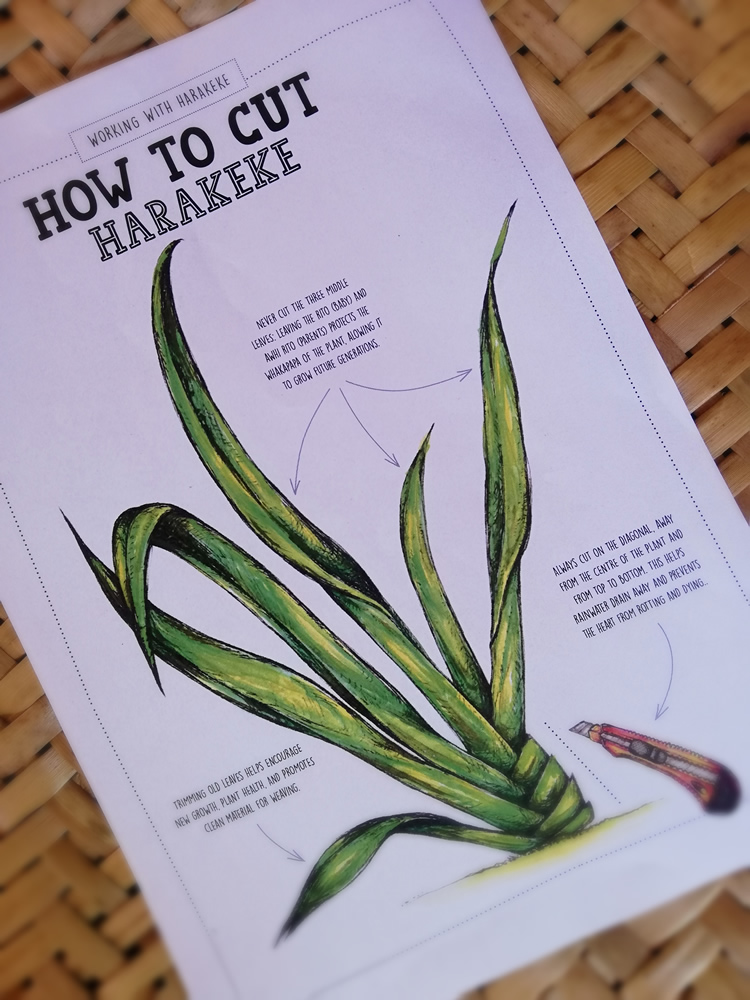
- Tikanga (protocols) are an important part of working with Harakeke. This ensures the saftey of the people and the plant and a respect for the use of Harakeke as a material – check out our harakeke tikanga guide here
DOWNLOAD:
HARAKEKE TIKANGA + KARAKIA
Working with harakeke includes learning about tikanga (protocols) for harvest and care of the plant, and karakia used for harakeke. Download and print this resource to learn about harakeke tikanga, and much more!
INSTRUCTIONS:
How to make a Harakeke (NZ Flax) Star
Prepare your strips –
- Take one one Harakeke (NZ Flax) leaf. (If you wish to weave with paper strips, go to step 7).
- Fold the leaf in half lengthwise.
- Strip away the hard centre spine and the outside edges of the leaf.
- The softer part of the leaf will seperate to two halves that will still connect at the hard ‘butt end’ of the leaf.
- Split each leaf into even strips about 1-2 cm wide. You will need 4 strips.
- Using scissors, cut the 4 strips from the hard butt end of the leaf. Set aside any unused remains to return to Papatuanuku (Mother Earth).
- You will now have 4 strips of Harakeke around 1-2cm wide, and minimum length 210mm.
Option to use paper strips instead, adapt these instruction accordingly.
Softening the harakeke –
- Using the blunt knife, drag the dull side of the Harakeke strip between your thumb and the blade to soften. Pull the harakeke along the length of the knife.
- This makes the strips easier to work with.
- Repeat for all 4 strips.
Create the ‘Windmill knot’ –
- Take two strips, and place on top of each other with the shiny sides (of harakeke) both facing up.
- LOOP THE STRIPS: Loop twist the strips around the fingers of the left hand in an ‘N’ shape, as shown. Hold with your thumb.
- Take the 2 other strips, placing together with shiny sides facing up. Tuck one end in at the top of the loop.
- Create a ‘Z’ shape: looping the strip under at top right, coming over at the bottom left, and tucking in at the bottom right.
- You should now have an ‘N’ shape, looped by a ‘Z’ shape.
- TIGHTEN LOOPS: Gently pull the ‘N’ and ‘Z’ adjusting to tighten up any gaps. It should resemble a ‘windmill’.
- Close-up view of the front of the ‘windmill’.
- FLIP OVER: Flip it over so the back of the ‘windmill’ is now visible.
- We now need to fold strips of flax so the back looks like the front. Fold strip 1 down.
- Fold strip 2 over to the right, Fold strip 3 up, Fold strip 4 over to the left.
- Tuck strip 4 underneath strip 1 to secure.
- The front and back of the ‘windmill’ will now look the same.
Create each point of the star –
- POINT 1: Fold the top right hand strip diagonally across so that it forms the shape of a triangle at the top of the centre knot.
- Fold the same strip down towards you to form a point.
- Fold the pointed triangle in half.
- Take hold of the pointed triangle in one hand & weave the remainder under the strip directly below the triangle to secure it in place.
- Now pull that strip tight to sit flat against the middle knot.
- Trim close to the knot.
- You have completed your first point of the star.
- POINTS 2-7: Repeat the process for each strip on this side of the knot and then turn your work over and do the same for the other side of the knot.
- There will be at points in total. It helps to think of these points forming an ‘M’ shape in the middle to help you remember which way to fold.
- YOU’RE DONE! Your 8 point star is complete. Use a needle to thread a harakeke string, or twine through one point to hang your star, tie to a gift, or display as is.
VIEW STEP BY-STEP-INSTRUCTIONS
WITH PICTURES:
DOWNLOAD:
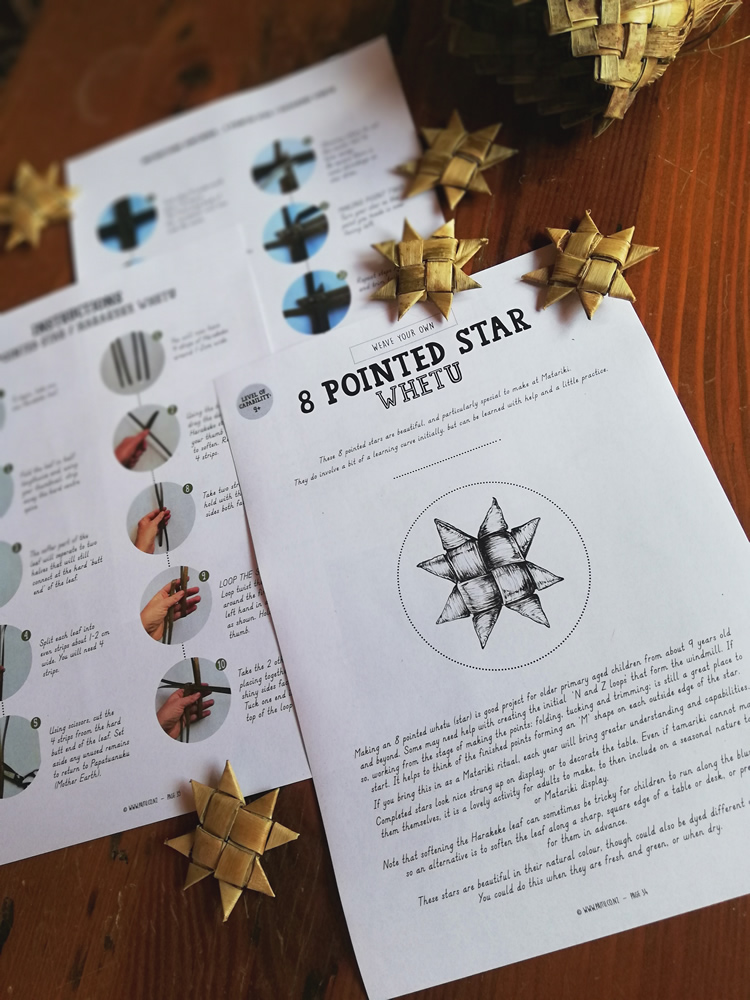
HOW TO MAKE A HARAKEKE STAR (8 POINTED)
Download and print these step by step instructions (with photos) to add to your classroom resource kete. Or add to your home Christmas or Matariki activity box!
Weave an 8 point harakeke star >>
View Harakeke 8 point star resource on TPT >>
DOWNLOAD:
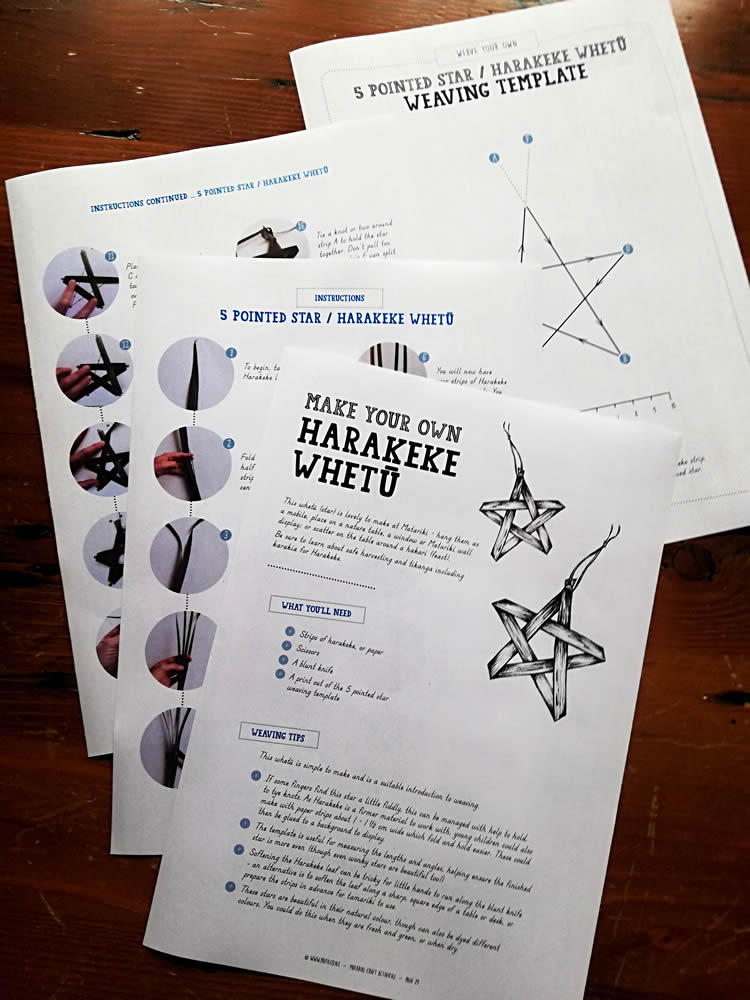
WEAVE A SIMPLE HARAKEKE STAR (5 POINT)
This simple star is great for smaller children to make, and includes a Includes a 5 pointed star template.
Print these step by step photographic instructions help you to weave a star for Matariki or Christmas!
Weave a simple (5 point) harakeke star >>
View harakeke star resource on TPT >
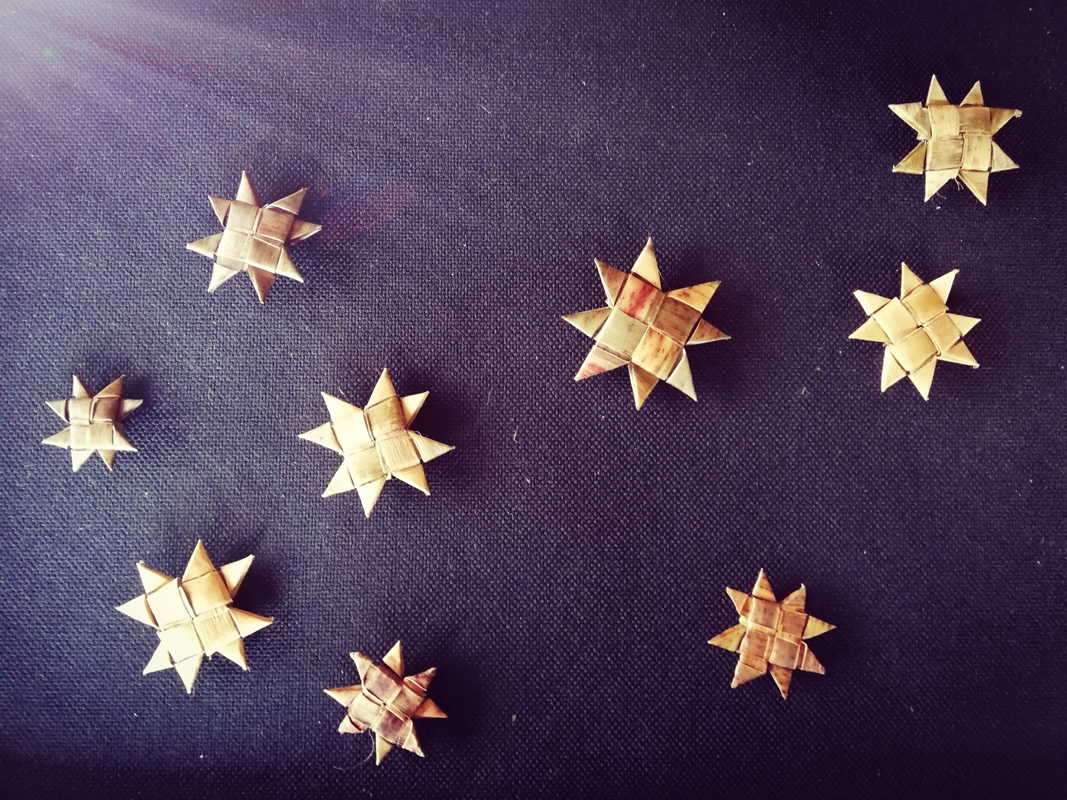
Uses for Harakeke (NZ flax) stars
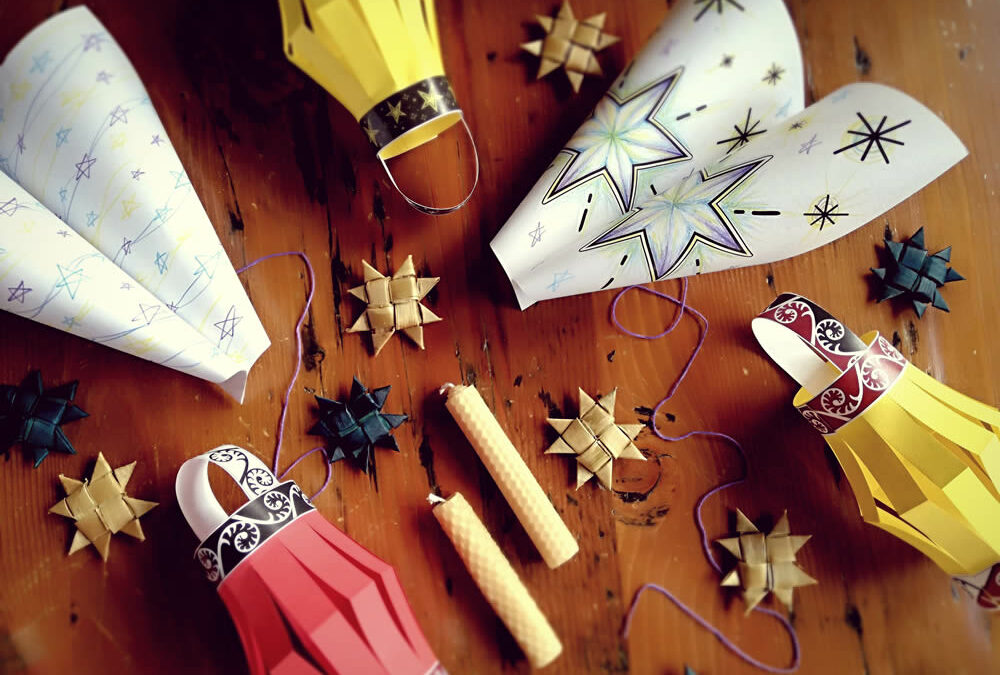
- Matariki – Completed stars look beautiful when strung up as a Matariki display, or used to decorate the table during a haraki (feast).
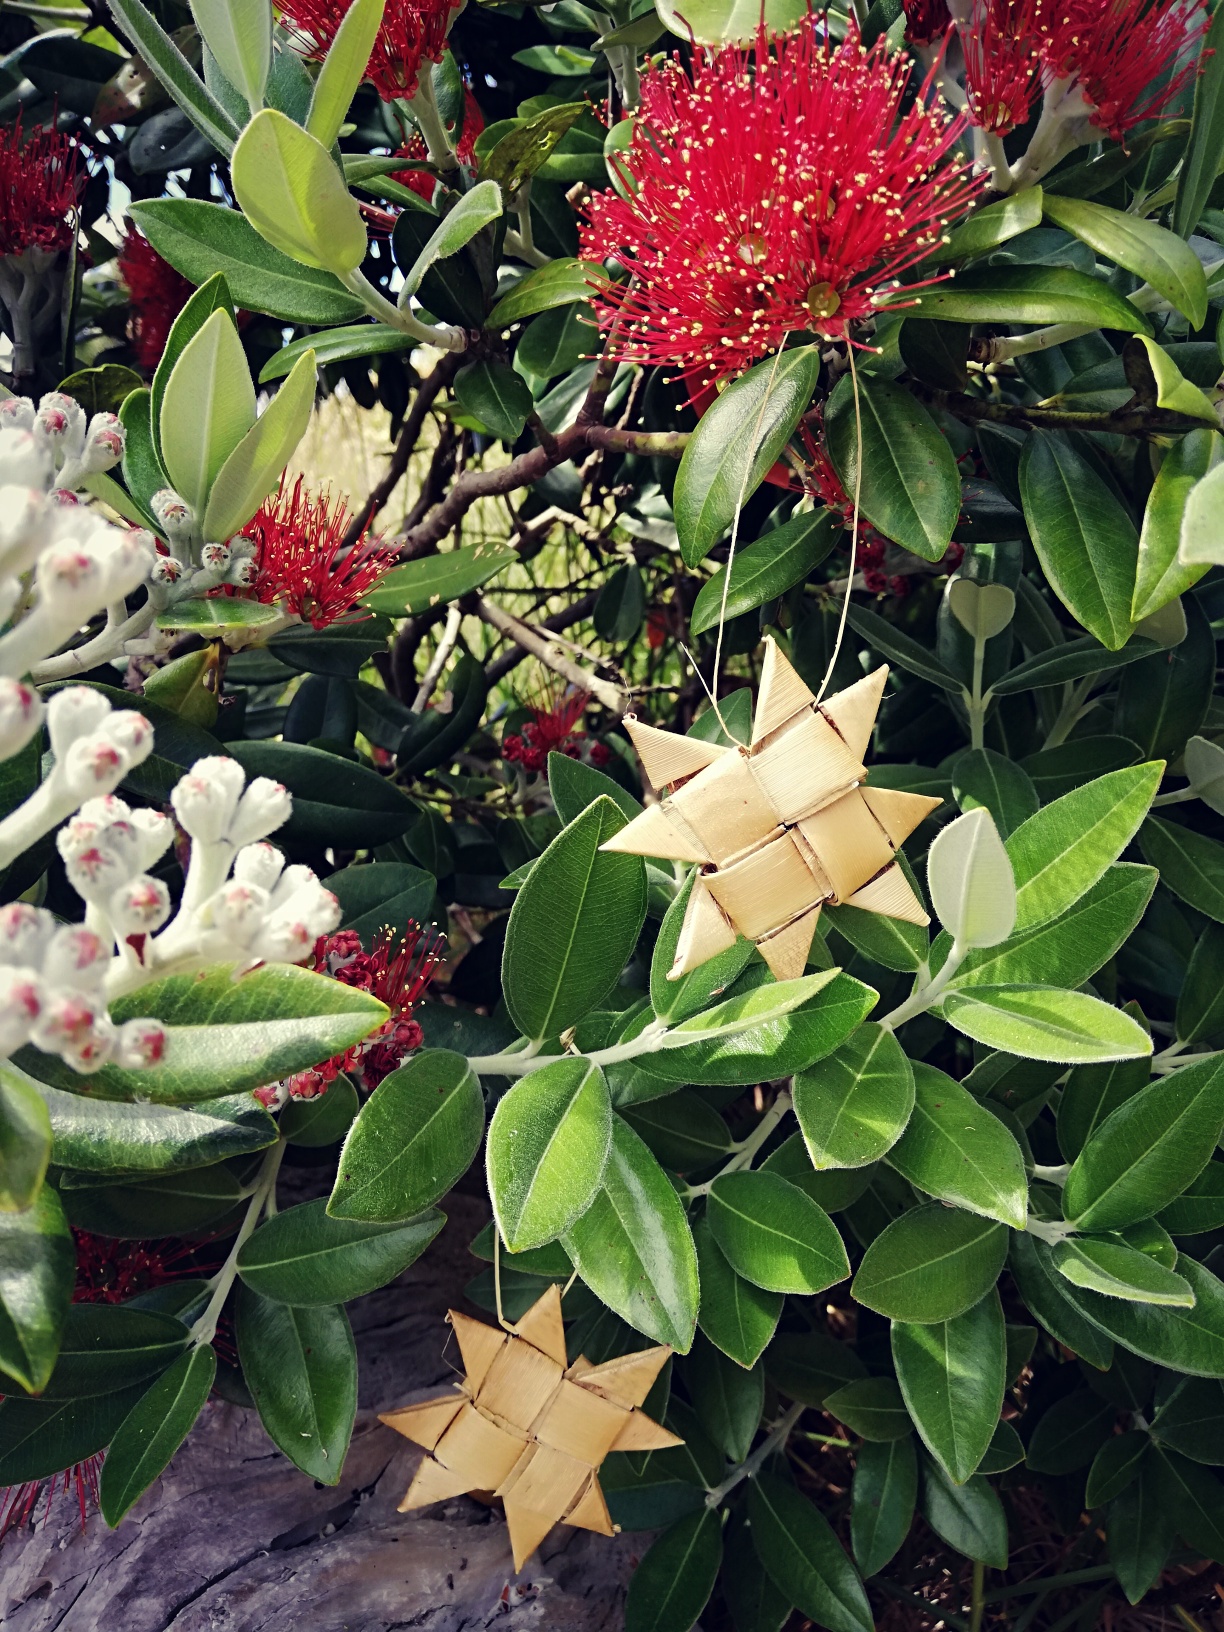
- Christmas decorations – hang as a garland, decorate the Christmas tree, or tuck into gift wrapping.
- Option to make from paper – you can use this same method to make stars from paper.
- Kid crafts – These Harakeke stars make a great Matariki or Christmas craft activity for older children.
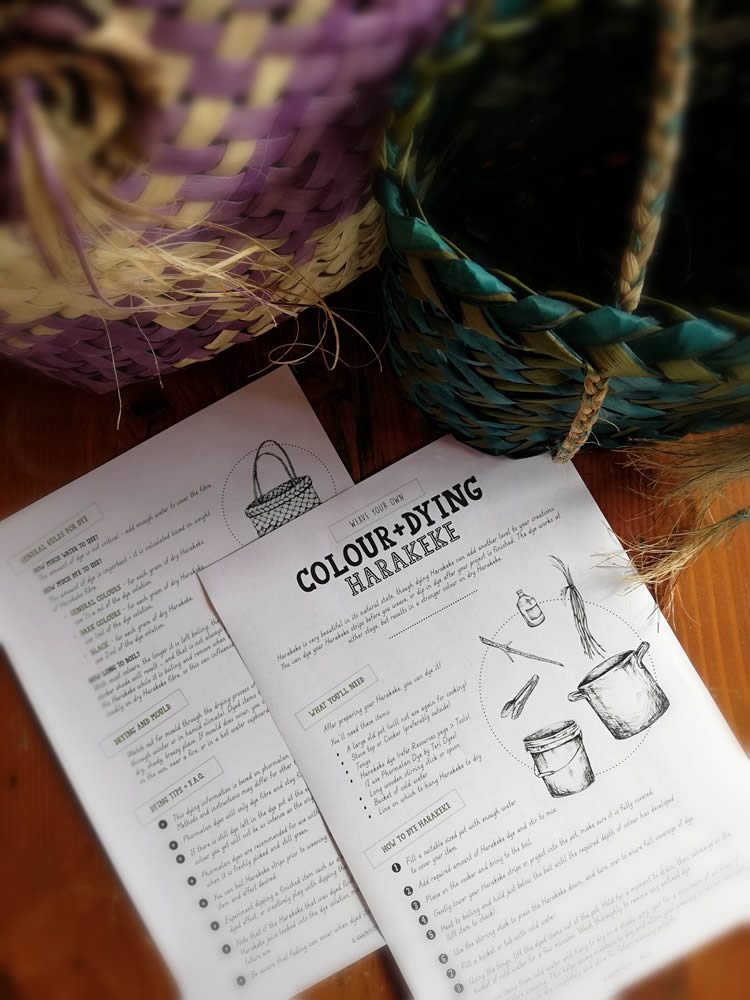
- Dying harakake – Harakeke (NZ flax) stars can be left natural, or dyed different colours – check out our harakeke dying guide here
DOWNLOAD:
HOW TO DYE HARAKEKE (NZ FLAX)
Colouring your harakeke using dye can add something extra special to your weaving. Download and print this resource to learn more about how to dye Harakeke (NZ Flax), what you need in your weaving toolkit, tikanga, and much, much more!
These harakeke stars are a great activity to make for Christmas or Matariki.
I’d love you to share below how you have used your harakeke stars in your classroom or home!







0 Comments